Build it Before Breaking it !! — PART 2
Build it Before Breaking it !! — PART 2
Hi Everyone. First of all, Thanks for the response that you people gave for the last blog which is the First Part of “Build it Before Breaking it !! — PART 1”.
As promised, In this blog, we will be going through on how to setup Constrained Delegation lab.

Let’s get started !!
What is Unconstrained Delegation BTW?
Unconstrained delegation, also known as Protocol Transition is a security feature in Microsoft Windows Active Directory environments which allows a service to impersonate a user, meaning the service can act on behalf of the user and access network resources as if it were the user.
For a computer to authenticate on behalf of other services (unconstrained delegation) two conditions are required:
- Account has the TRUSTED_FOR_DELEGATION flag in the User Account Control (UAC) flags.
- User account has not the NOT_DELEGATED flag set which by default non domain accounts have this flag.
For this, I will be creating an user account and a computer account for the demonstration purposes.
ACCOUNT CREATION:
Follow the steps that are mentioned below for setting-up an user account.
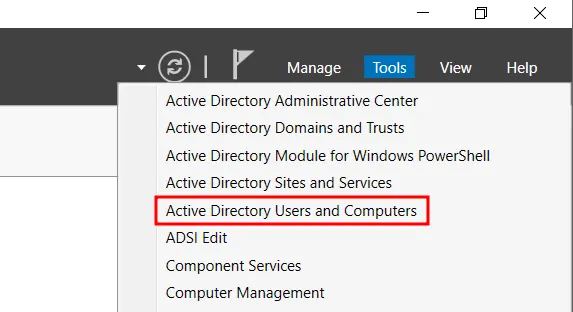
Boot-up your windows server , open Windows Server Manager → Tools → Click ‘Active Directory Users and Computers’
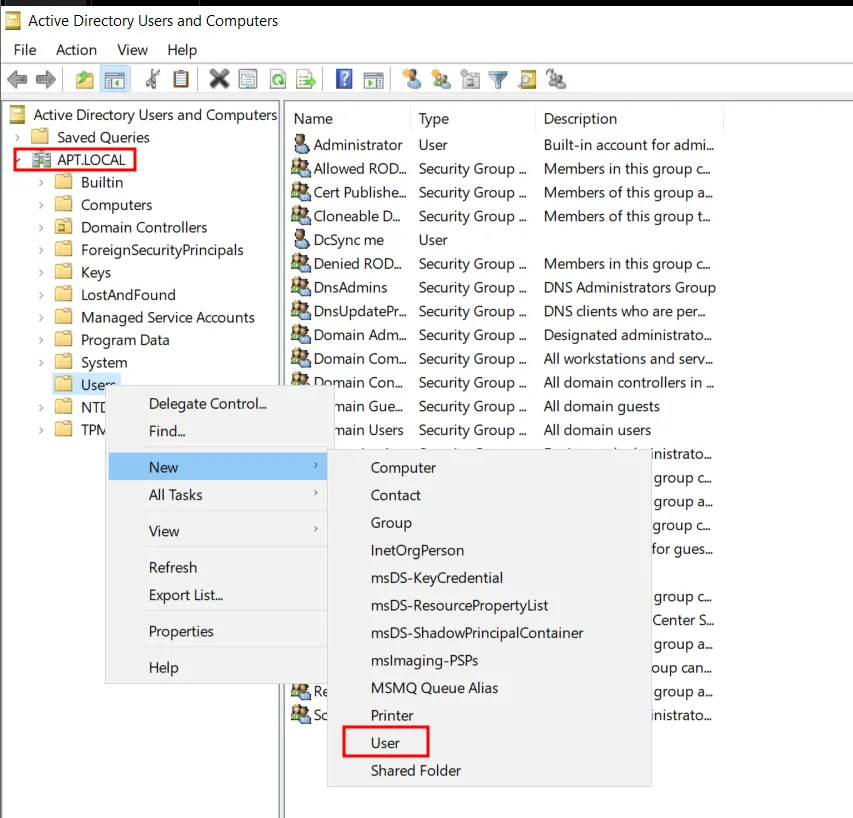
Under the forest [Here APT.LOCAL] , Right click on Users → New → User.
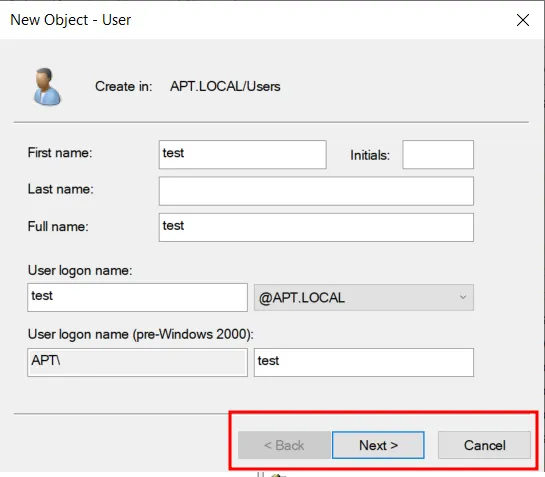
A new pop-up window will appear. Fill the necessary details and press Next.
Enter a password and make sure to uncheck “User must change password at next logon” because we don’t want the user to change his/her password. At the same time, check the “User cannot change password” and “Password never expires” boxes.
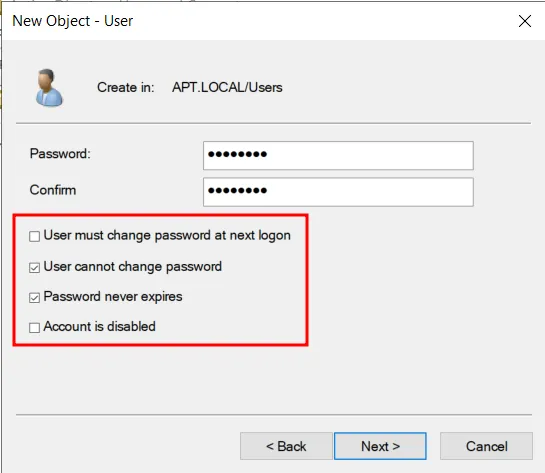
Press Next → Finish. So, now we have created our low privileged user account which we will be using as our attacker.
Computer Account:
We need a computer account with ‘Un-Constrained delegation’ privilege set in-order to abuse it. Follow the instructions for setting-up the same.
First step is exactly like the previous one but instead of choosing account type as User, we will selecting Computer this time.
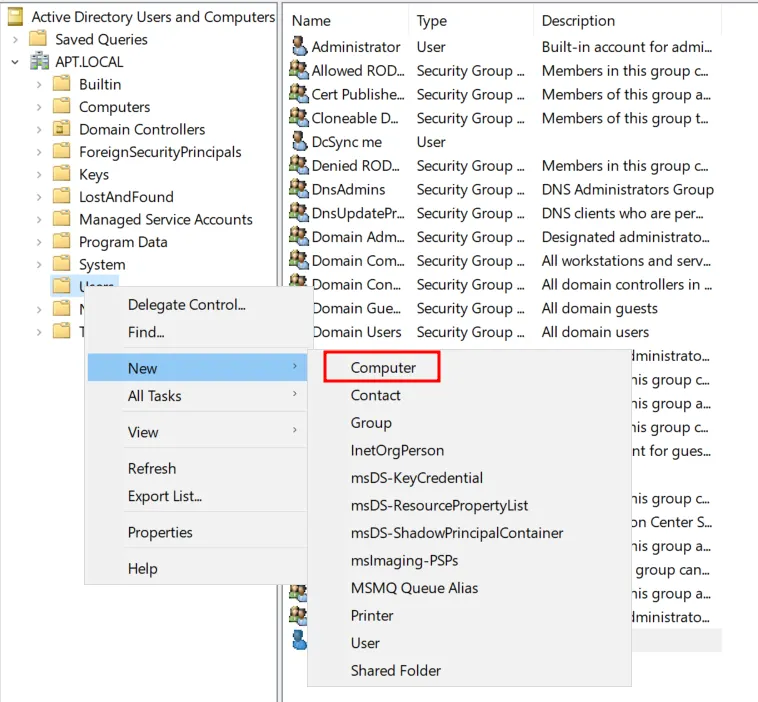
In the popped up windows, Enter the computer name.
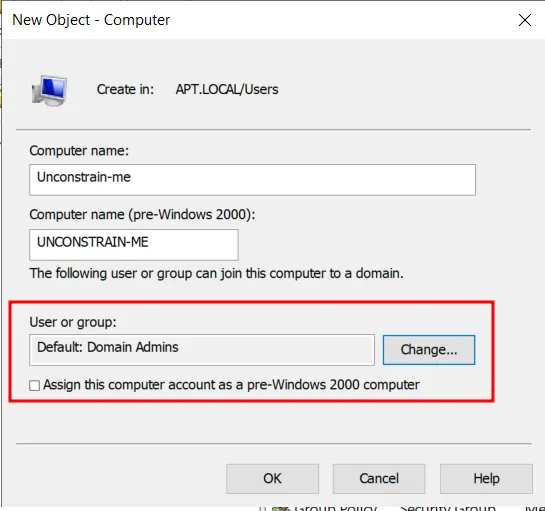
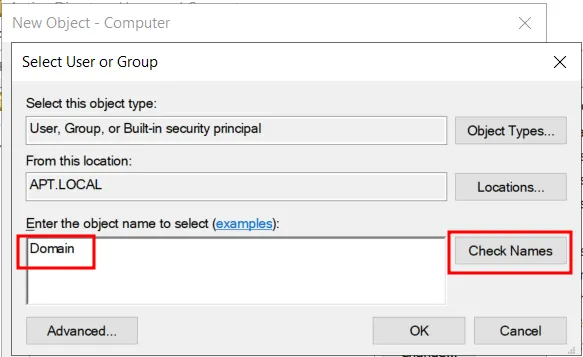
One thing to note is, By default, a computer account will be assigned to be a member of ‘Domain Admins’ which we don’t want in this case. So in-order to change it, Click Change → In the new pop-up windows, Enter Domain and press ‘Check Names’.
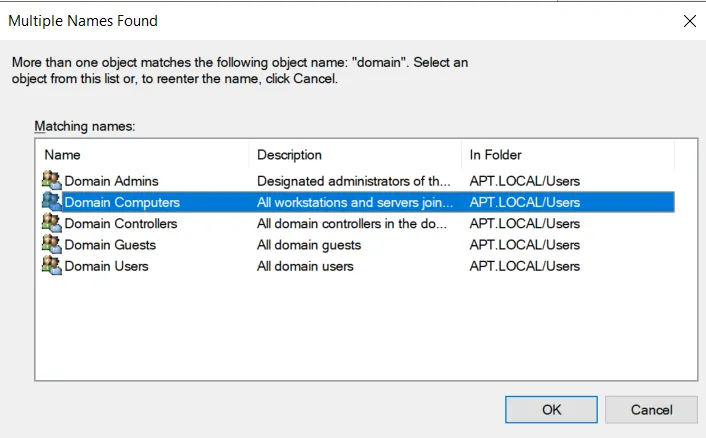
Upon clicking ‘Check Names’, a new new widows will appear where you need to Select “Domain Computers” → press OK → OK.
Now, we have created our machine account. Let’s give it the privilege.
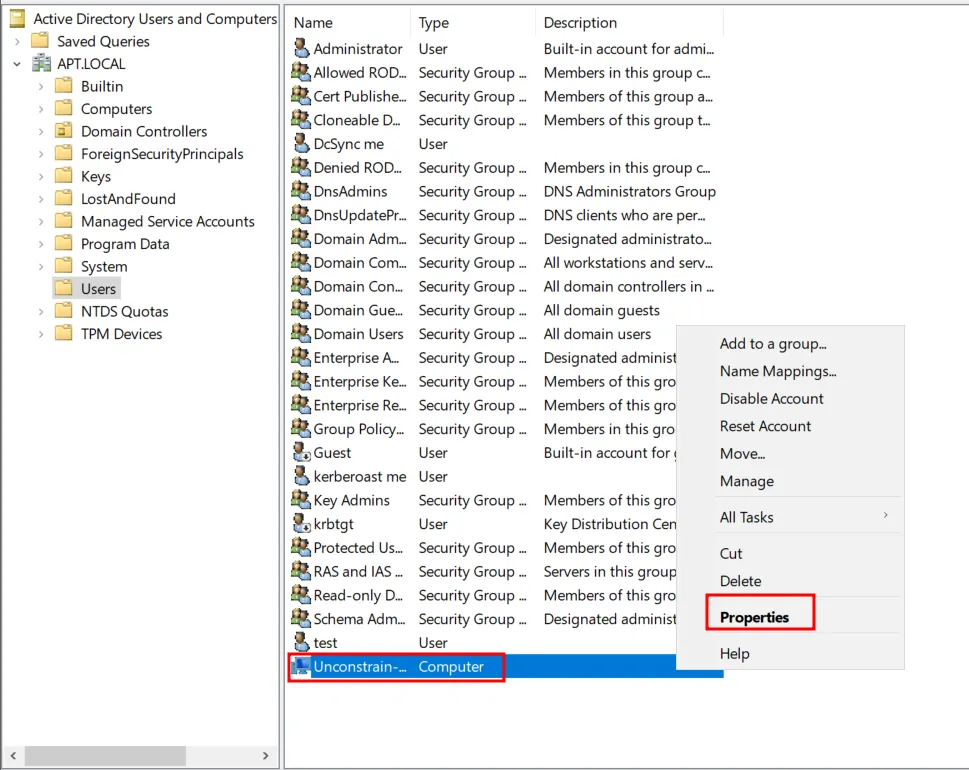
In the ‘Active Directory Users and Computers’ → Users → Find the computer account you have created [Here Unconstrain-me] → Right Click → Properties.
In the popped-up window , Go to Delegation → Select ‘Trust this computer for delegation to any service ’ → Click OK.
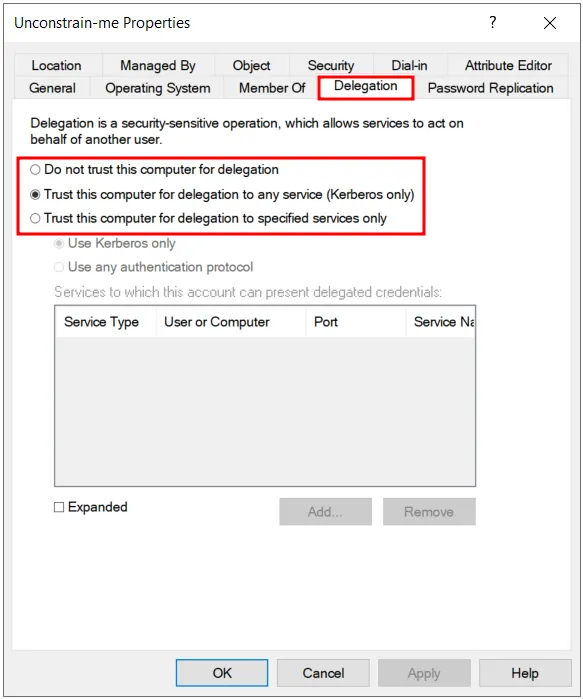
And yeah, that’s it !!. Our computer account is configured for Un-Constrained Delegation.

Let’s Check it using two ways.
-
Using Active Directory Module from Windows.
-
Impacket Scripts from Linux.
-
ACTIVE DIRECTORY MODULE:
Get-ADComputer -Filter {TrustedForDelegation -eq $true -and primarygroupid -eq 515} -Properties trustedfordelegation,serviceprincipalname,description
Use the above mentioned PowerShell query to list the computer account with “trustedfordelegation” property set.
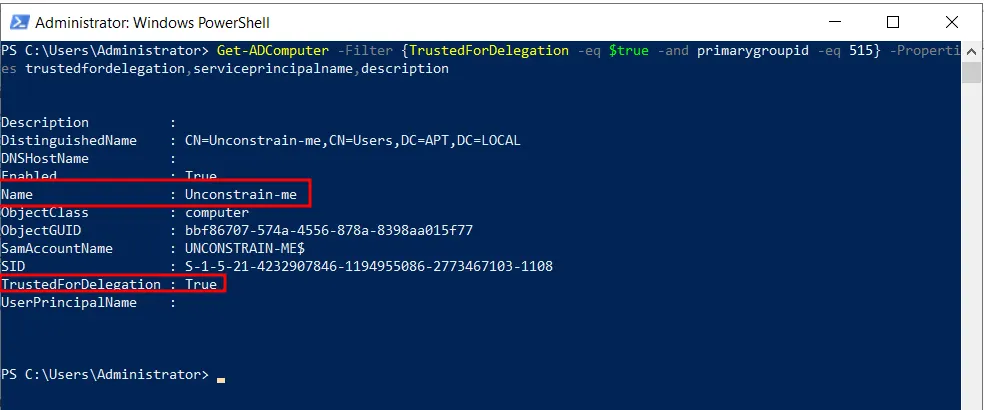
As we can see, the property is set.
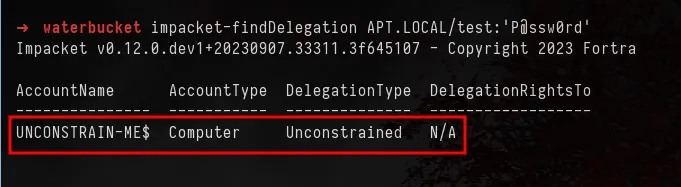
- IMPACKET FROM LINUX:
Finddelegation.py script from impacket will be used to check for computer accounts with unconstrained delegation set. You can get the impacket scripts from here.
We have validated our (mis)configuration from both Windows and Linux. As I have already mentioned in the previous blogpost that we won’t be showcasing on how to exploit them as there are many tutorials available for the same.
In the next blog, we will see how to setup Constrained delegation. Thanks for reading.
Help me to get OSCP here :)